I decided to make a thread on this bedding project. Now i'm not a professional, but I've bedded a few rifles and thought this might help out some guys looking to bed their first gun.
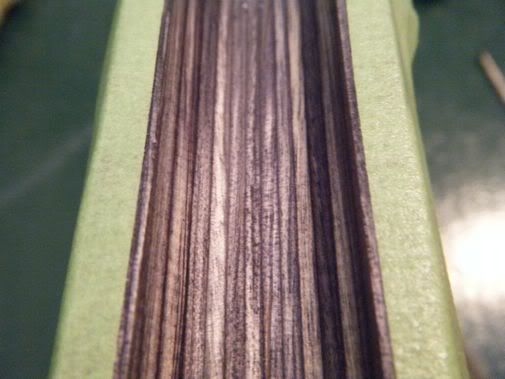
This is a REM 700 ADL, in 7mm Mag. It had a flimsy synthetic factory stock, and my buddy who owns the gun bought a Boyd's laminate Prairie Hunter for it. I'll say that I was really impressed with the fit and feel of the boyds, for a stock under 100 dollars its pretty hard to beat.
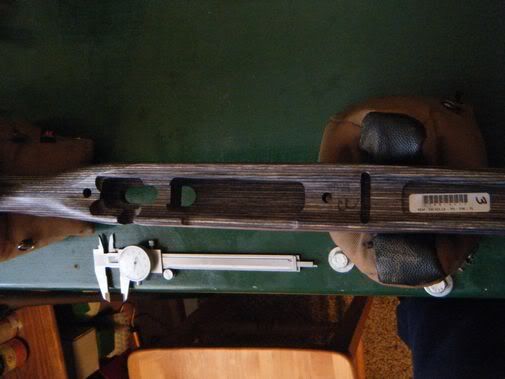
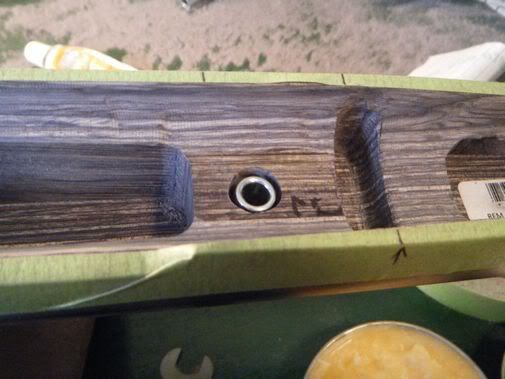
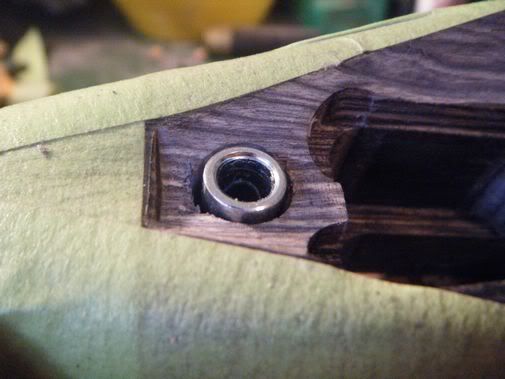
I bedded it with DEVCON Plastic Steel. I wanted to pillar it as well, so I used the same method I did on my 700. I bought 1/4 steel bolt spacers from the hardware store. Before I did any modifications to the stock I took measurements, the rear measurement went from the top of the trigger gaurd to the bottom of the tang, it measured at 1.295". The front measured from the top of the plastic spacer to the bottom of action, and it measure .685". I cut and ground the steel spacers to this length. I then drilled out the action holes to allow about 1/8" of room all the way around the pillar. Some people say to use a drill press and make sure you get these holes square, but as far I can tell as long as you set the pillars square it doesn't matter as long as these holes are "close" to square. So I just drill them by hand.
I then take 5 minute DECVCON epoxy, I use just a small amount on the bottom of the pillar set them in the holes, put the aciton/barrel back on and screw it down. Let the epoxy set and pull it back apart.
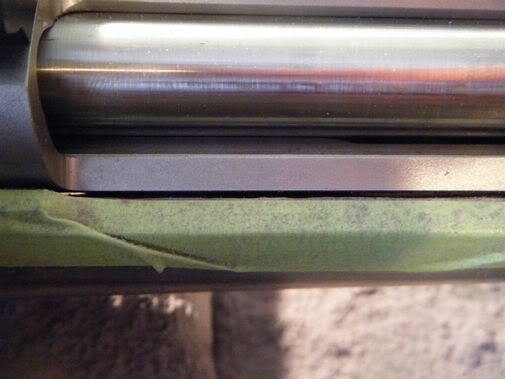
Now i'm ready to start floating the barrel. I put masking tape about 1/16 inch away from the sides of the barrel channel. This serves 2 purposes, one to give me a guide of how much material i'm removing while sanding, and also if my dremel gets away from me it runs across the top of the tape and not the pretty new stock, I learned this the hard way on my first bed job. I like to remove just enough material to allow a business card to slide smoothly the length of the barrel. Another nice thing about masking tape along the sides is when you check the barrel, you can easily mark any “tight” spots as you slide the card along the barrel, so when you pull the barrel off you remember where you need to keep sanding. I use my dremel for all this, some guys use a wood down and sand paper which works well too.
Once the barrel is floated I started on the action. I do a full bedding of everywhere the action sits on the stock. I made sure to mask along the sides here as well, and started sanding, I remove about 1/8” of material all around.
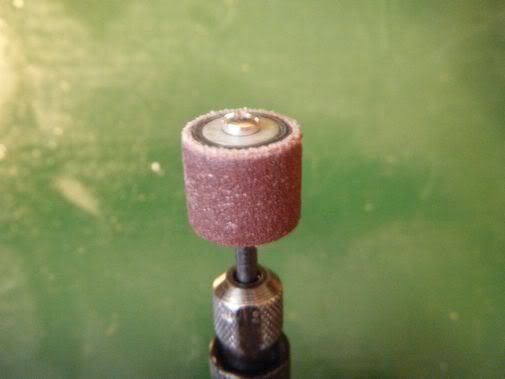
Next, the recoil lug, this is probably where I’ve seen the most different methods used. I have done a few all this way and they’ve worked great. I remove about ¼ inch of material front and back of the recoil lug, and 1/8 inch along the sides. I have to use a few different dremel bits to do this, as my sanding wheel won’t fit in at first.
Once I have all this done I pull all my masking and remask. Barrel is floated, pillars are set. Now its time to get ready to bed. First, I use modeling clay to fill in the holes for the trigger and the magazine. I usually stuff gauze down first to hold up the clay. I make sure and take my time here to allow no holes or gaps. Also built with modeling clay is the dam in front of the recoil lug to stop the bedding. I go about 1” in front of the recoil lug to just give my barrel a little bit of support. I stuff the clay in the stock here, then bolt down my action/barrel again, pull it back apart, and trim the dam straight on the action side to make a pretty edge of the bed job.