Pa r t 1 Howa 1500 trigger / Weatherby trigger
Being an owner from new, of the Howa 1500 Varminter Supreme in Stainless, 308 calibre, some of you already know I have had the barrel shortened by an inch and had a custom removable over-barrel suppressor fabricated. (photos to come...)
Next task was the all-discussed factory trigger.. Creep creep, you got it.. Yes, adjust this and the safety stops working... Mind you, in my days of firearm training, It was enforced that one wasnt to rely on the mechanics of a safety, but to use the semi-ready position of the bolt until actually ready to fire... Im sure this is a can of worms, so I shall not discuss this - my practices are mine alone....
I have spent a quiet public holiday pulling apart and photographing each step, in case there are other owners out there who cannot justify the costs of importing a quality aftermarket trigger, being outside the USA....
Whether right or wrong, this is what I have done to see alot of improvement in the sear surfaces... and no one anywhere it seems, has posted pics of the trigger in bits... and if nothing else, was an education...
-this has quite a few images to see, grab a coffee or beer-
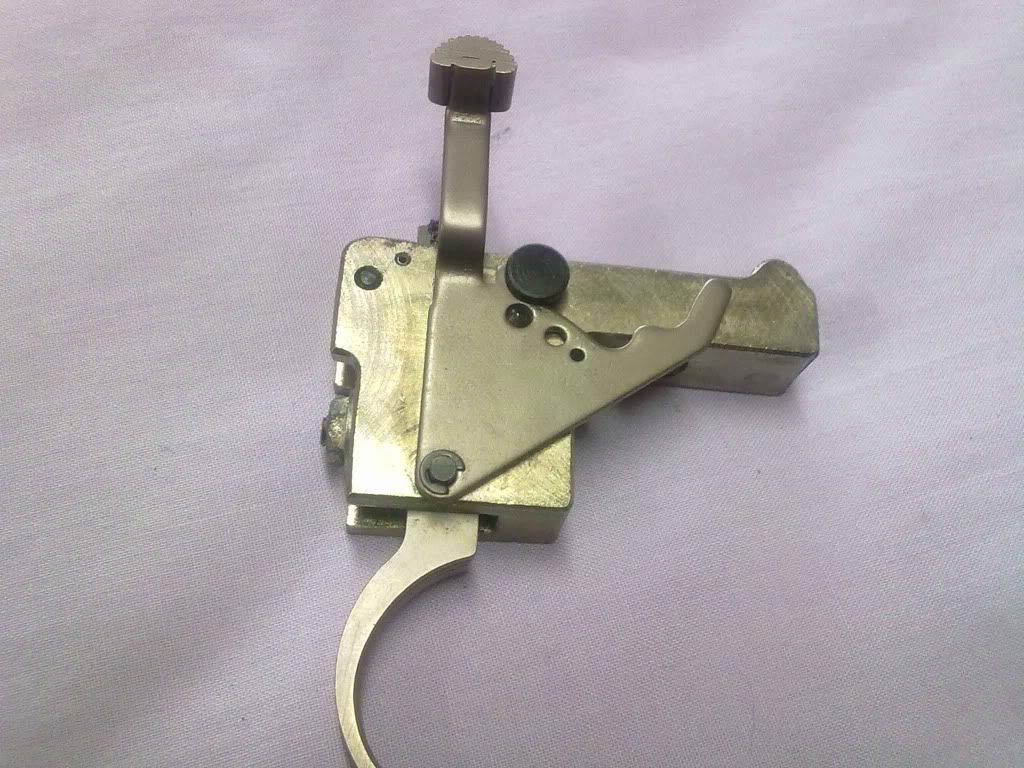
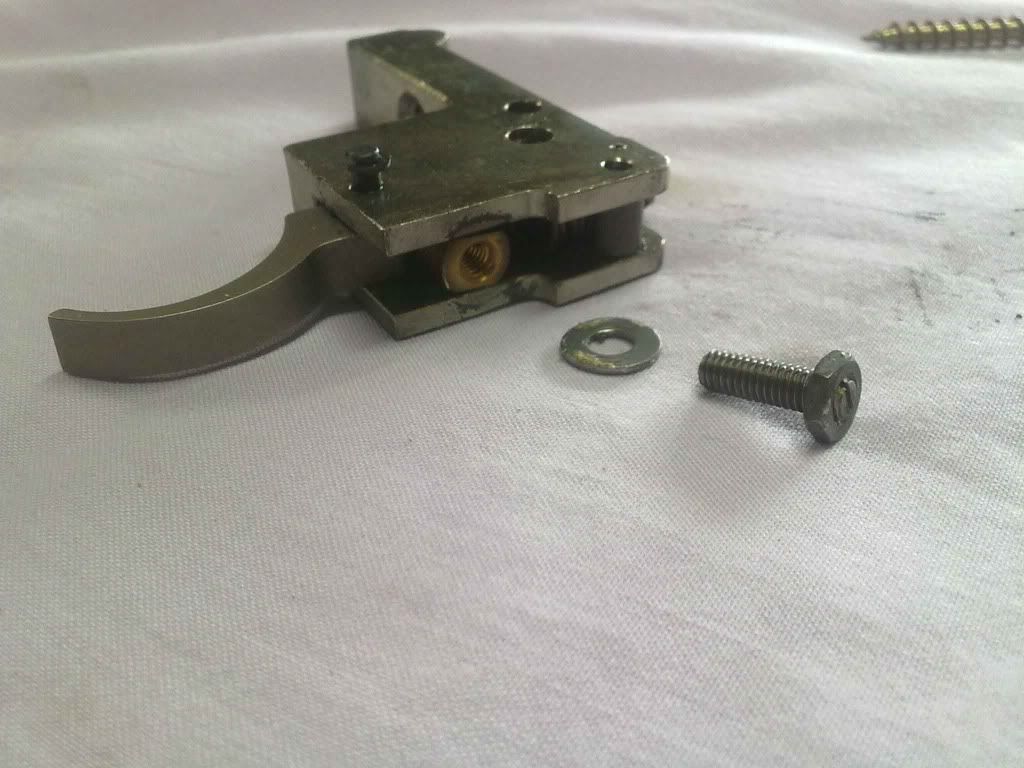
1. Some of us are familiar with this, the Howa trigger group..
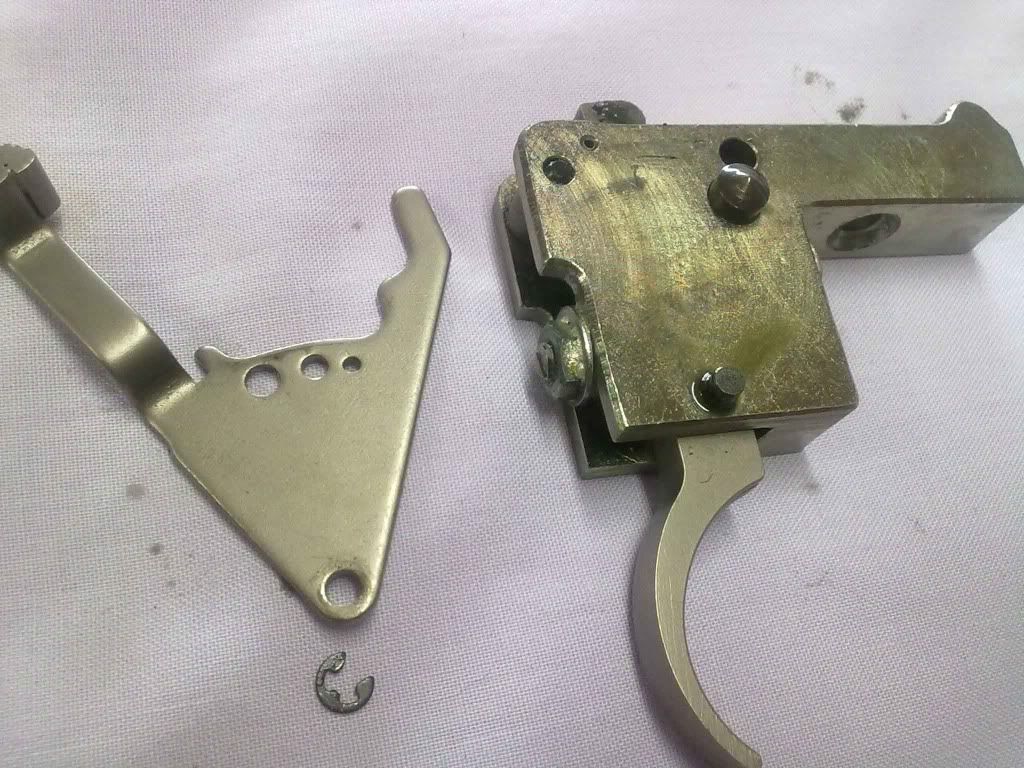
2. I first removed the circlip and the Safety tang retaining pin.
3. After removing the safety tang, the conical locator pin and spring are ready to fall out..
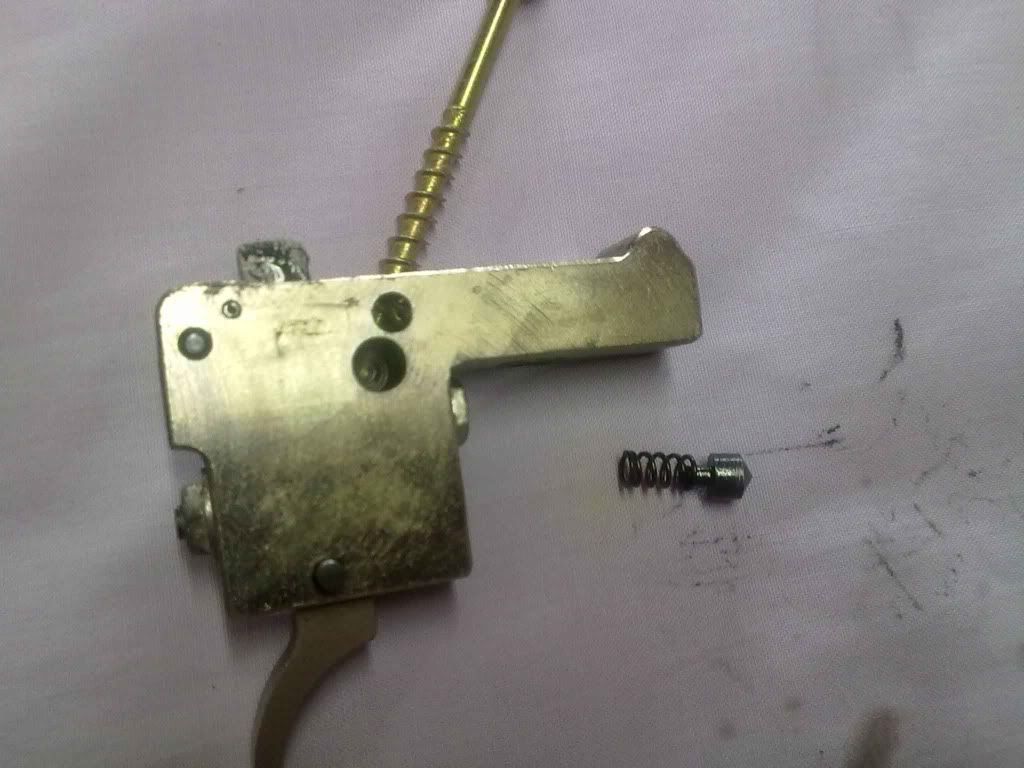
4. I then removed the rear adjusting screw completely - this frees the trigger internally from the front spring.
5. The trigger will now be loose, but captive, until the pin nearest the trigger curve is removed. i found that because earlier we had removed a circlip, the pin and other circlip can come out the other way, allowing the trigger to be removed...
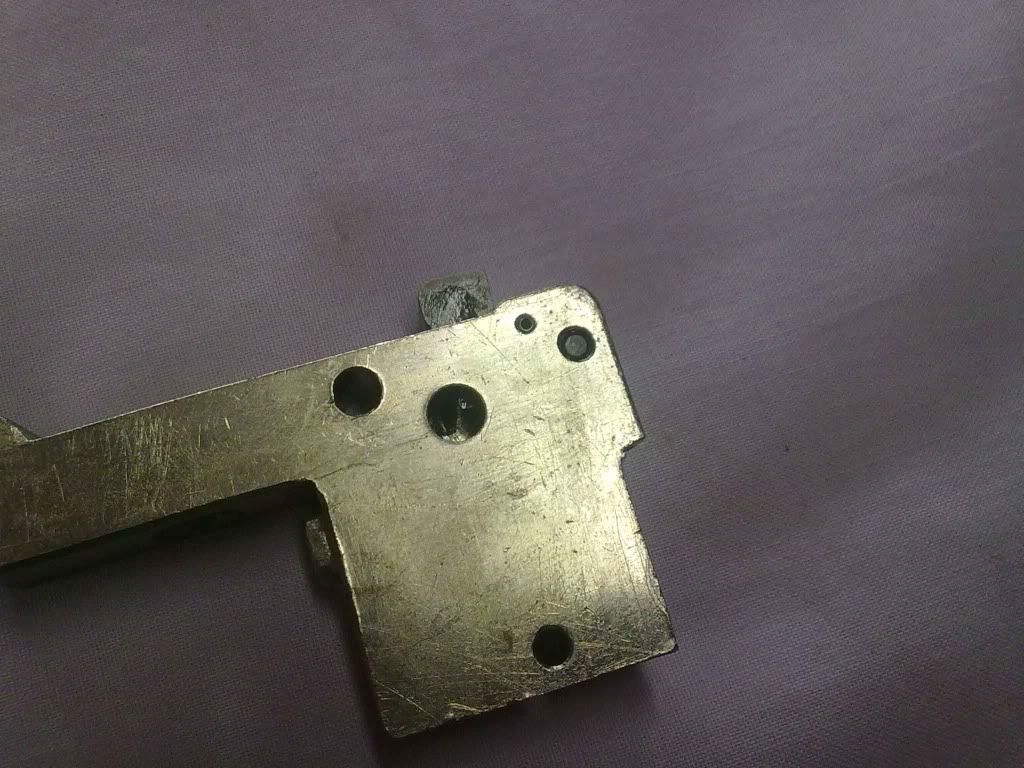
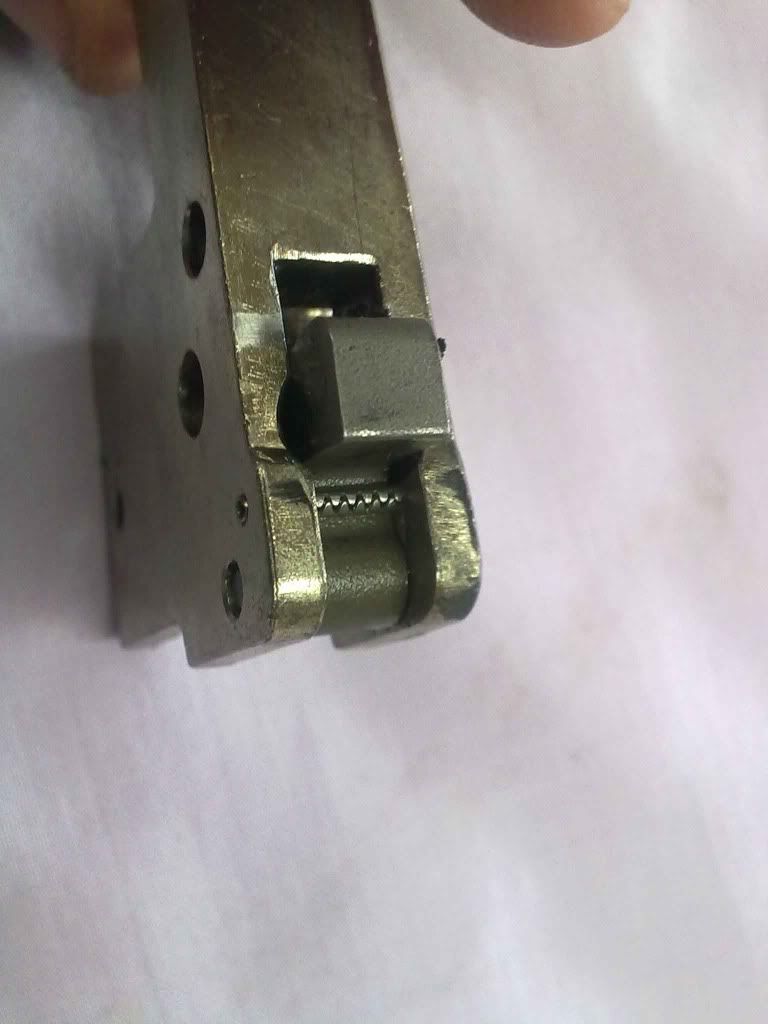
6. If we look at the top of whats left , it will look like this... we want to then remove the tiny pin holding in place, the 'L' shaped sear...