
|
|
|||||||
| Forum Rules | Firearms Safety | Firearms Photos | Links | Library | Lost Password | Email Changes |
| Register | FAQ | Calendar | Today's Posts | Search |
 |
|
|
Thread Tools | Search this Thread |
 April 7, 2014, 12:10 PM
|
#1 |
|
Senior Member
Join Date: April 1, 2014
Posts: 120
|
Stevens 12 ga restoration
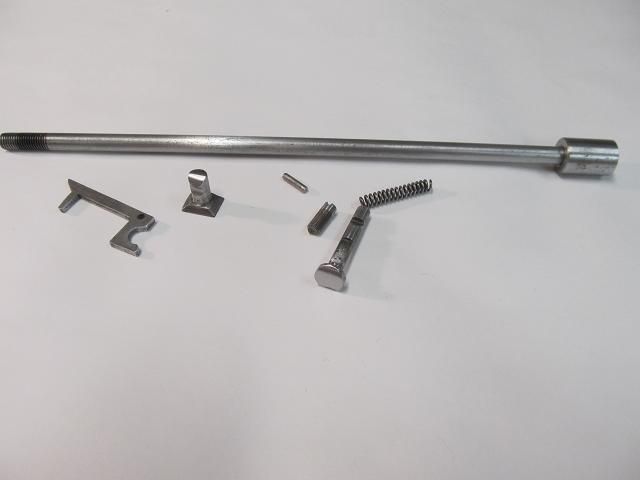
All the restorations I have posted lately have begun with a bit of background or history about the gun about to be restored. Unfortunately that wont be the case with this 100 year old single shot 12 ga because I don’t know what it is beyond the fact that it’s a Stevens and it was made between 1900 and 1916. Based on the low number I suggest its on the earlier end of that range. I asked for help identifying this gun on a variety of boards and so far I have only been able to rule out guns that it is not.
Its not a Stevens 125, 115 or 105 or 107 or a 94 and a long list of others that it is not. This is proving to be a problem since locating a replacement stock for a 100 year old gun you don’t know the model number of is tough. I picked up the shotgun at an estate sale because it looked like a challenge. (I love those) and the price was right. Like other restorations it’s a mess but I like to take what are essentially $10 guns and put 30 or 40 hours and $100 into them and turn them into $15 guns. (it’s a sickness, I know) It doesn’t have to make sense it only has to be enjoyable. So here it is in all its broken glory. 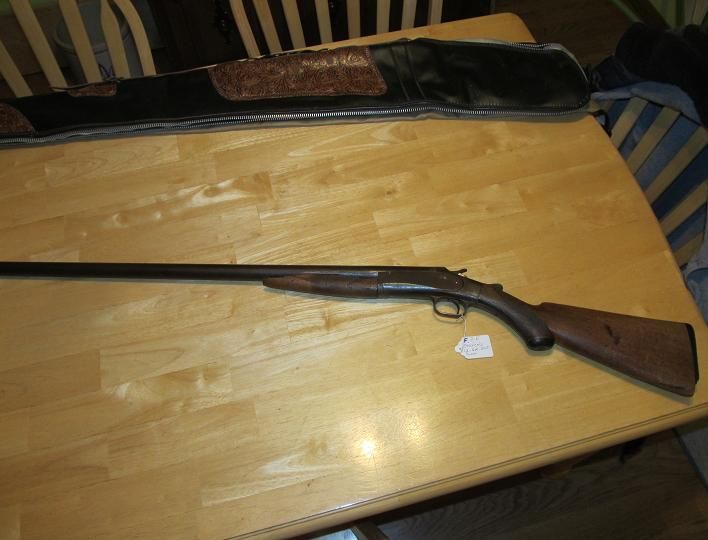 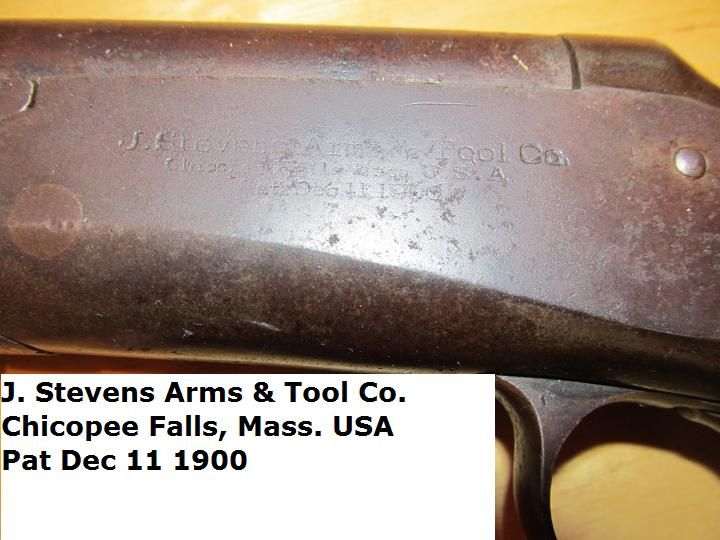  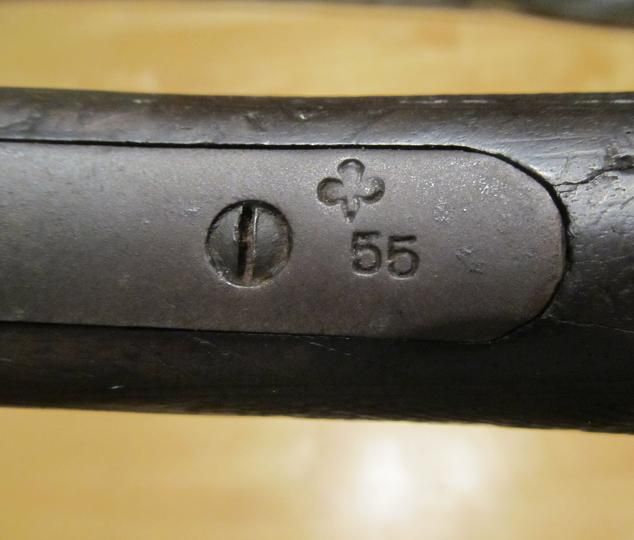 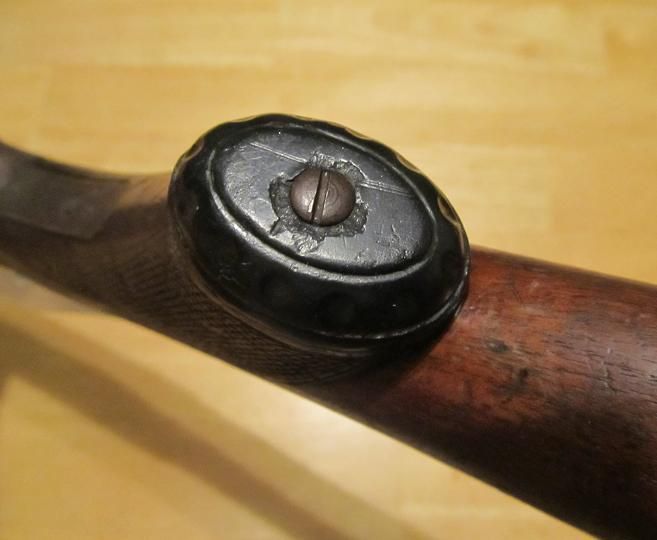 Thats a brass screw above the firing pin even though the years have given it a black petina. 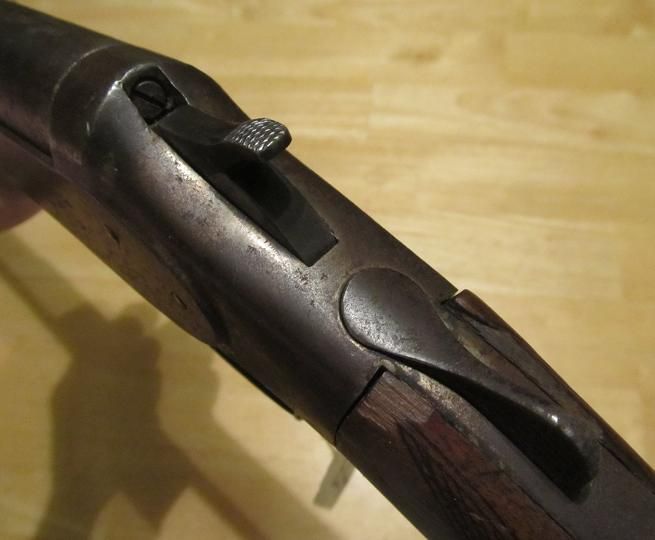
|

|
|
April 7, 2014, 12:11 PM
|
#2 |
|
Senior Member
Join Date: April 1, 2014
Posts: 120
|
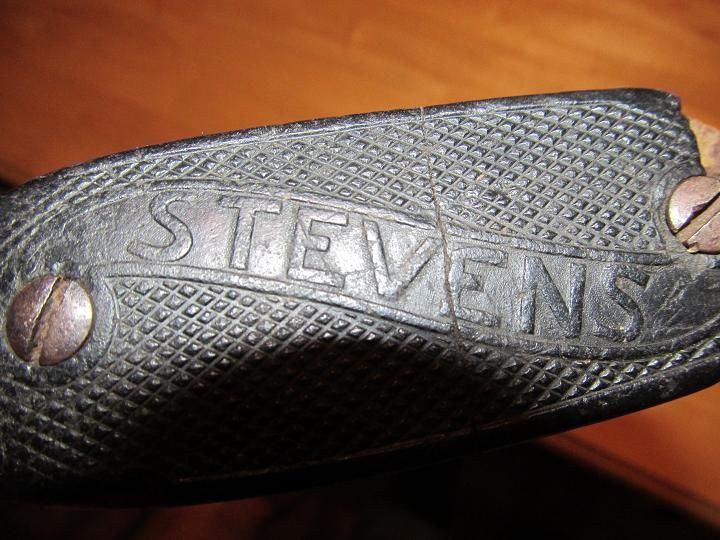 The thing about identifying this make is the joint were the stock meets the receiver. Most of the advertising (that can be found) shows a crescent shape in the stock/receiver joint like this. As well as a screw head for a removable screw at the front of the receiver where the barrel pivots. 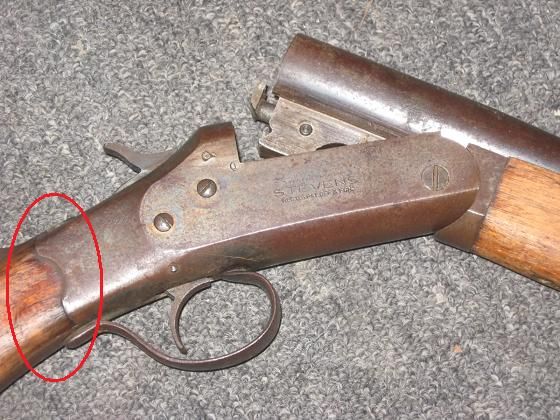 But this make has a straight joint and no removable pin for the barrel pivot. 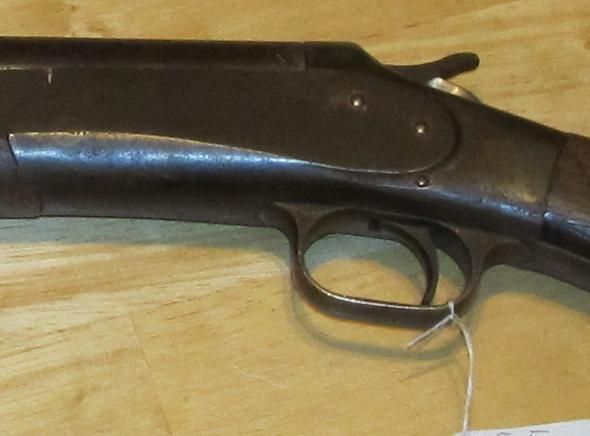 It also has a checkered stock and only certain Stevens of this vintage had that. But as you can see, both the butt and fore arm stock need replacing. For this gun I would rather buy a replacement than make one since spring his here and I have lots of outdoor tasks to take on. 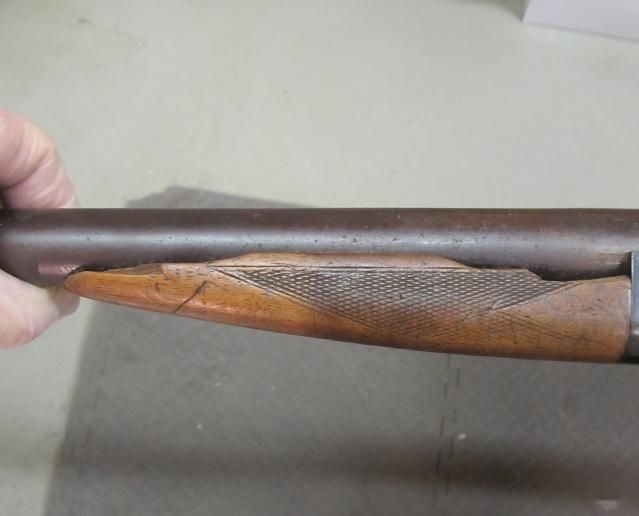 If you are a Steven authority and can shed some light on this gun, please do so. I don’t know if it helps but there are no internal coil springs in the receiver. All the springs are flat stock. 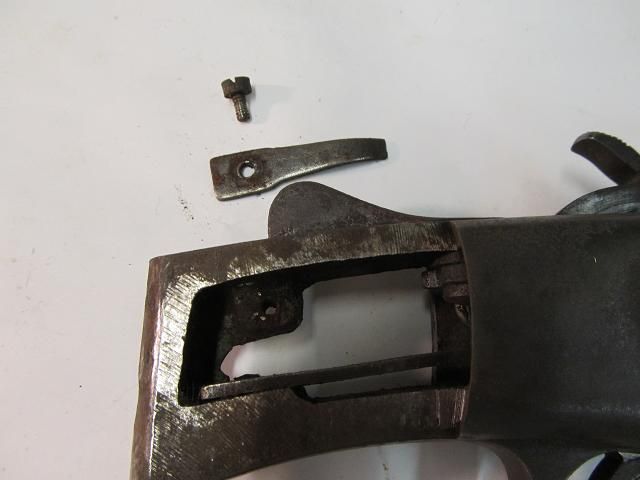 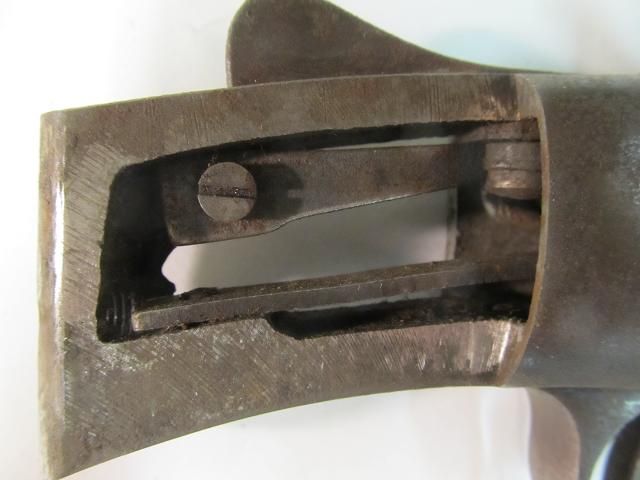
|
|
|
|
April 7, 2014, 12:12 PM
|
#3 |
|
Senior Member
Join Date: April 1, 2014
Posts: 120
|
 And this is how the fore stock mounts. 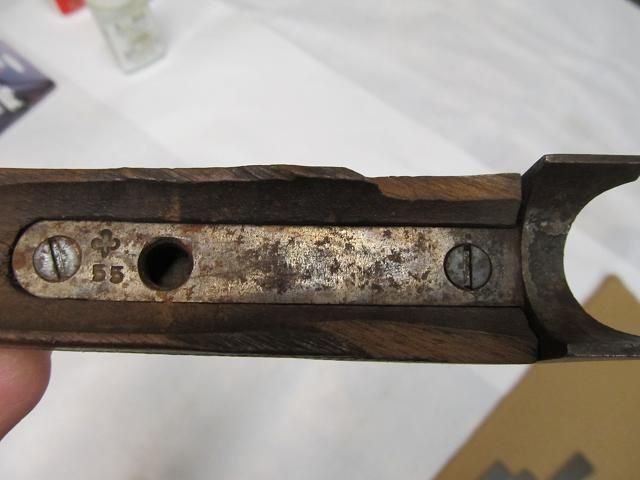 The barrel lug 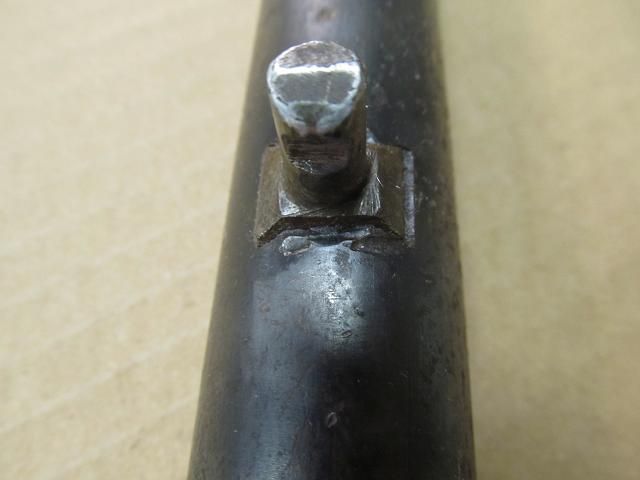 Normally I start with the wood due to dry times of the finish but for this one I have no wood so it may remain an incomplete restoration until I learn more about which make this gun is so as to locate a stock. At any rate, Ziploc bags of naval jelly have their work cut out for them. 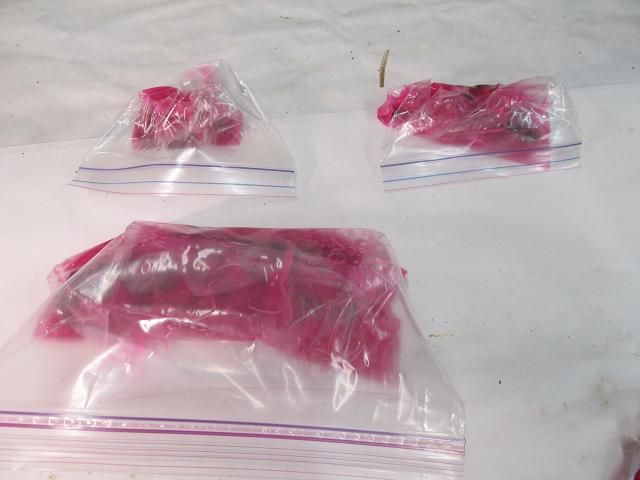 To be continued….. |
|
|
|
April 7, 2014, 06:35 PM
|
#4 |
|
Senior Member
Join Date: September 19, 2008
Posts: 4,678
|
.
I could be in error, but I believe your single-barrel shotgun to have originated as an N.R.Davis shotgun. N.R. Davis & Sons was a small gun company started in the late 1800's, which moved (1914 ?) from Assonnet, MA to Norwich, CT, and later (1917 ?) became the Davis-Warner Co, then yet later (1922) was absorbed by Crescent Arms as the Crescent-Davis Co, then still later (1931) by Stevens Arms Co. Yankee gunmakers have long been loathe to waste a red cent, so I would WAG that your unfinished action was in the Crescent Arms warehouse purchased by Stevens. It's well-known that Stevens completed & finshed every gun they laid their hands on, whether as an "N.R.Davis & Sons" (one of which SxS' I once had), a "Crescent Arms Co" - or (in your case) a "Stevens Arms & Tool Co" gun of non-descriminate parts. I seem to remember Stevens calling them the Model 140. . Last edited by PetahW; April 8, 2014 at 09:27 AM. |
|
|
|
April 8, 2014, 06:27 AM
|
#5 |
|
Senior Member
Join Date: April 1, 2014
Posts: 120
|
I was unable to open that link. Its asking me for my log in info and I am not registered. If its the gun sitting on the front porch I think I saw that posted for me on another forum. Interestng details you shared. Thanks for that.
All the parts were de-rustified (Is that a word?) and then cleaned up and given a brushed finish. Im messing around with Herters (now Arts) Belgian as an alternative to cold bluing. I tried the trigger guard first. Its more effort than wipe on cold blue since it involved boiling the parts and repeatedly applying the blue, carding, boiling but it gives the part a darker black (and more matte) appearance than cold bluing. 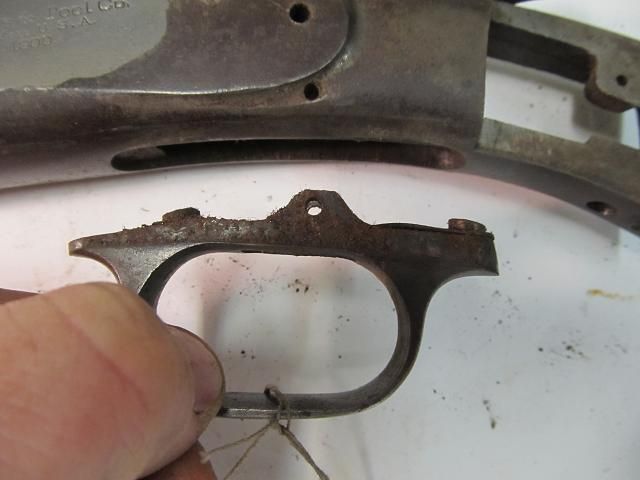 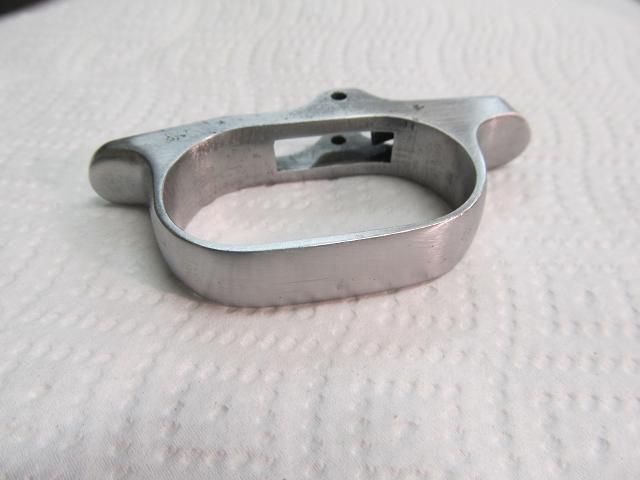 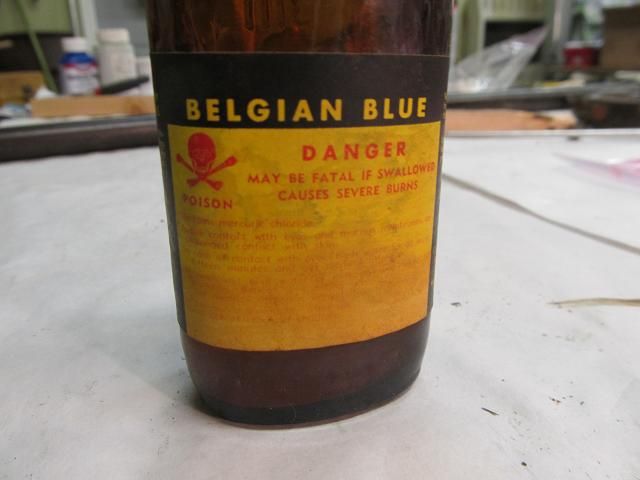 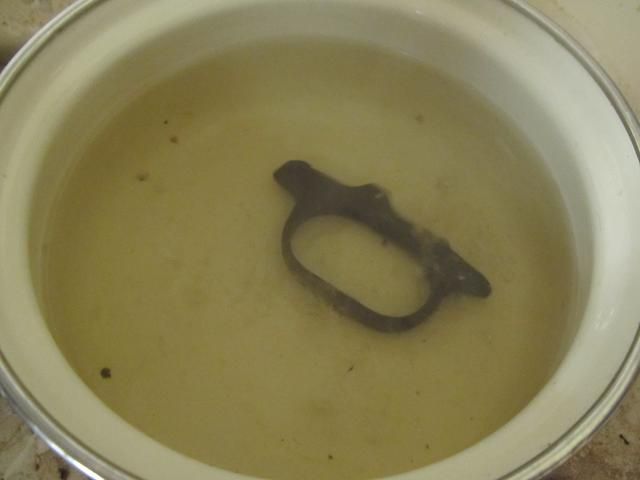 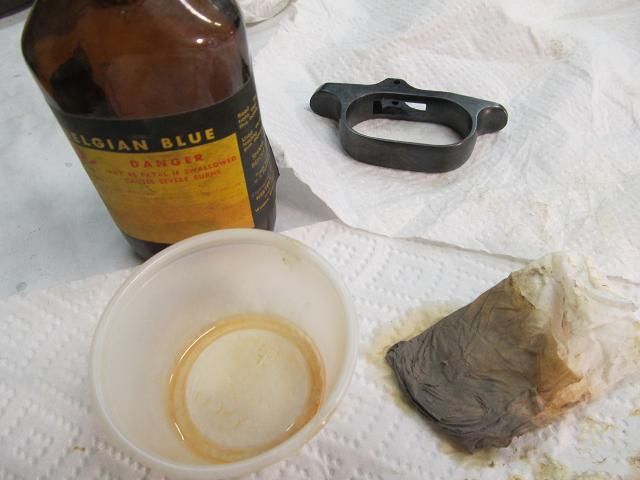 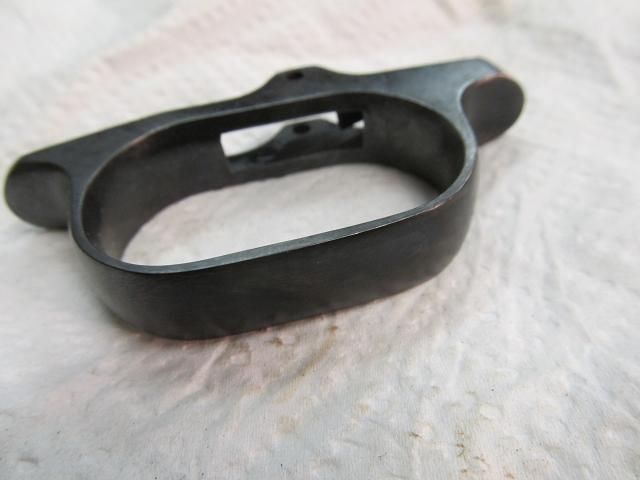
Last edited by DIY_guy; April 9, 2014 at 06:51 AM. |
|
|
|
April 8, 2014, 06:28 AM
|
#6 |
|
Senior Member
Join Date: April 1, 2014
Posts: 120
|
The remaining part were cold blued with Nu-Blu
 There is a coloration difference but I have not ruled out dissimilar metals as being the cause. 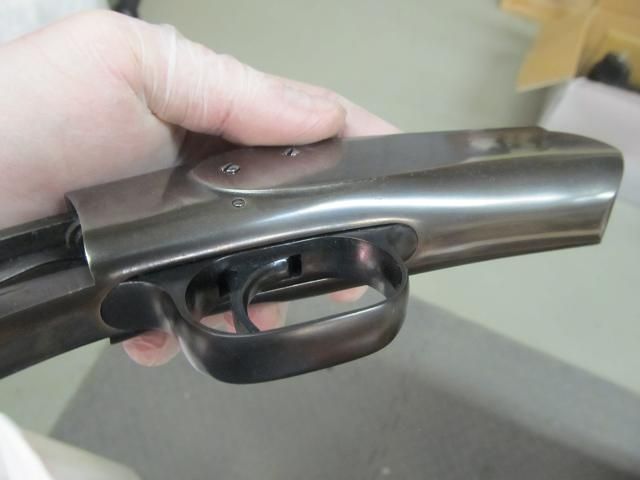 At any rate, I maintain the option of stripping down all the parts and using Belgian blue on all the parts. Here is it back together again. 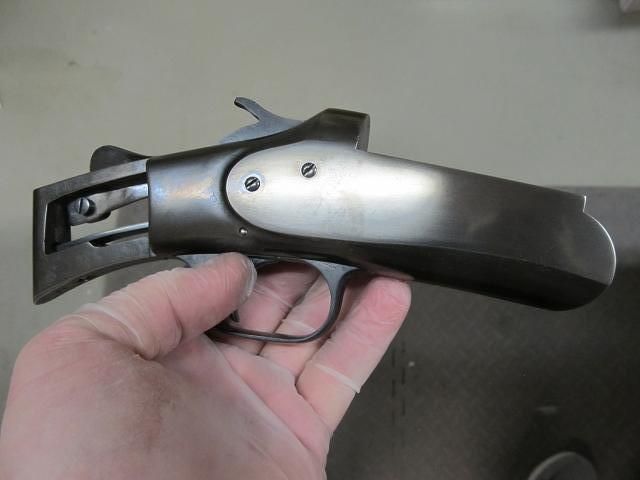 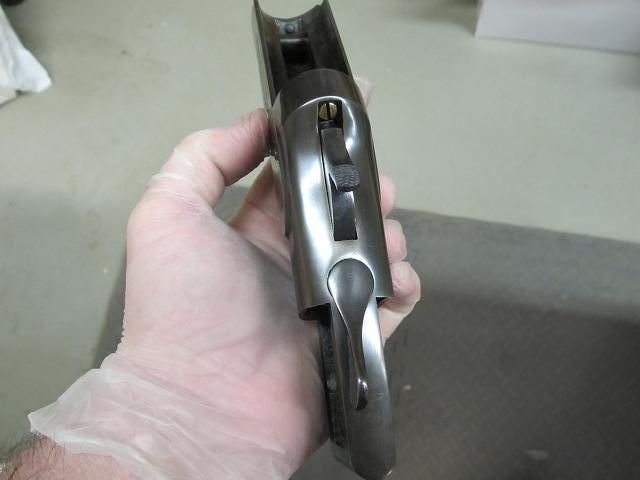 The next step is stripping and rebluing the barrel. Its not in terrible shape as far as rust goes but it does have a few dings and some rust pitting in the metal that will remain. 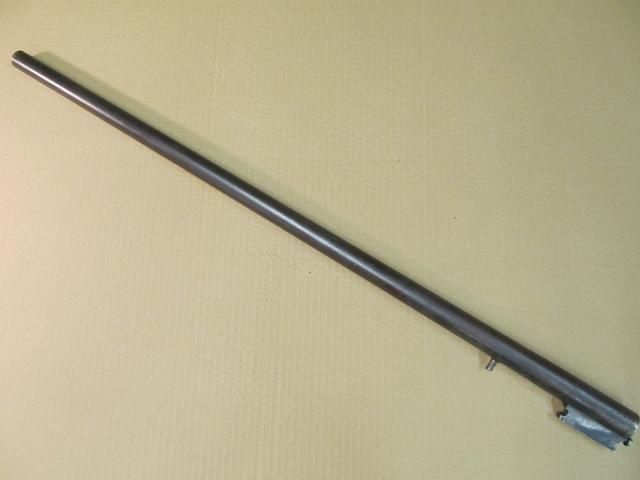 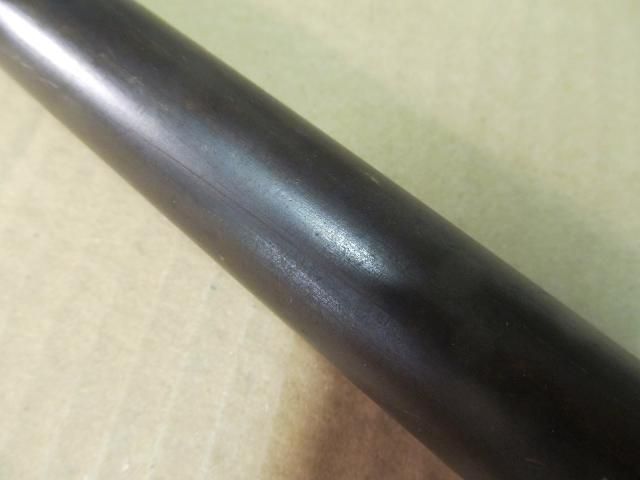
|
|
|
|
April 8, 2014, 06:29 AM
|
#7 |
|
Senior Member
Join Date: April 1, 2014
Posts: 120
|
I will remove the barrel lug and mount the barrel in my wood lathe and give it a 220, 320, 400, 600 grit job and then steel wool. I plan to use the Belgian blue on the barrel which means I need to fashion a tank to boil it in.
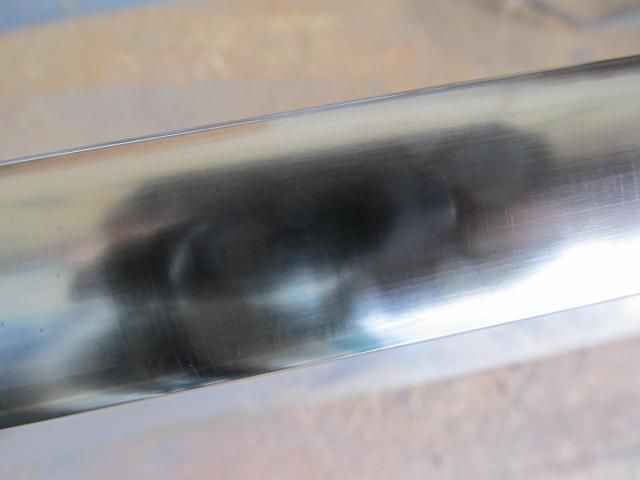
Since I was going to be using the Belgian blue any way and wanted to rule out dissimilar metal I took a couple of old bolts and cut the heads off and cleaned them up to 400 grit and applied Nu-Blu to one and Belgian blue to the other then I placed them both in a bag of Strike hold for 24 hours. Here are the results after a wipe down. 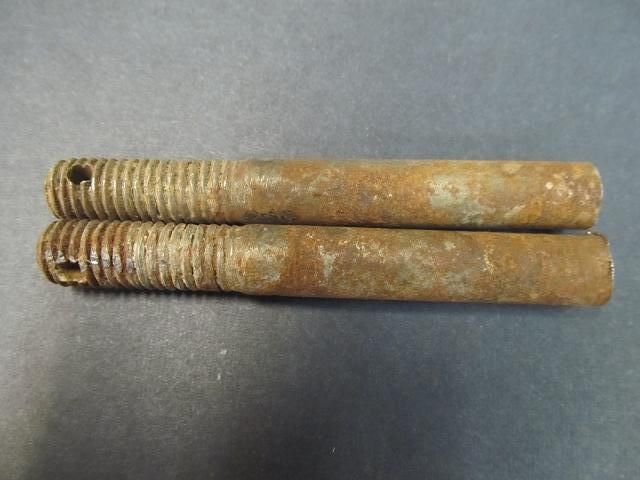 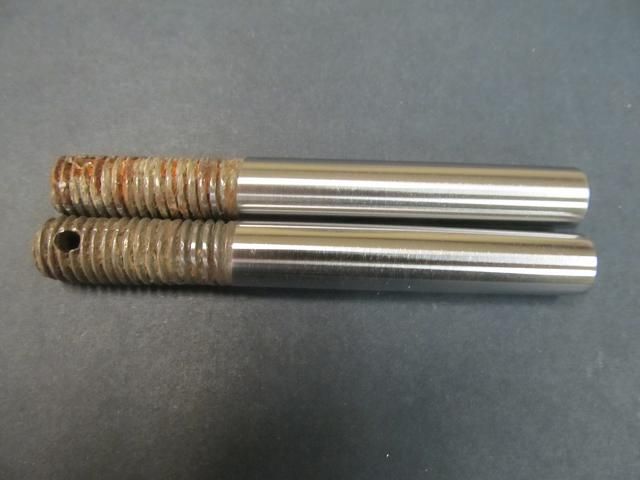 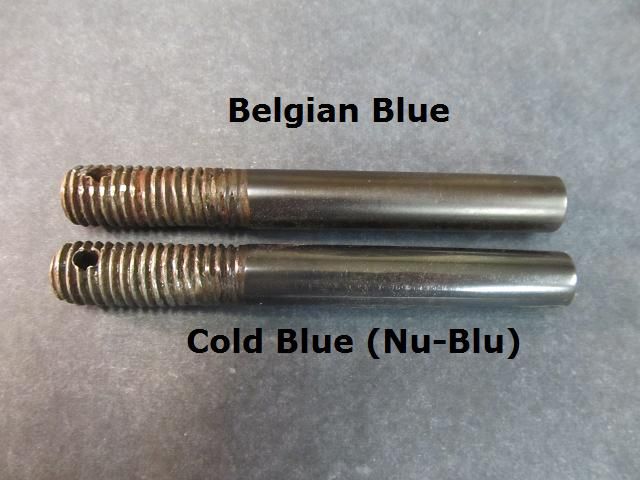 While the pictures do a poor job of showcasing the difference, its clear that the Belgian blue is deeper, blacker and more matte than the cold blue. Since the weather is nicer and because the barrel is larger than a trigger guard and because of the Mercuric Chorlide in the Belgian blue I want to do this bluing outside. My boiling tank will be heated by my 5 burner gas BBQ grill with a tank of suitable size that still need to be made. To be continued……. |
|
|
|
April 8, 2014, 11:24 AM
|
#8 |
|
Senior Member
Join Date: December 4, 1999
Location: WA, the ever blue state
Posts: 4,678
|
Love this thread.
I would use the spinning wire brush on the threads that still have some rust. I do this compulsively. I do not need any more screwdrivers nor chisels, but I buy more. Like the OP Stevens shotgun, I feel I must clean off rust. I have a mini lathe with a number of wire wheels on arbors that switch out fast with the 3 jaw chuck. The lathe axis is perpendicular to the bench edge, so no flying debris can hit me. I made a 40 second video for this post https://www.youtube.com/watch?v=qyRpzsQZ9JE
__________________
The word 'forum" does not mean "not criticizing books." "Ad hominem fallacy" is not the same as point by point criticism of books. If you bought the book, and believe it all, it may FEEL like an ad hominem attack, but you might strive to accept other points of view may exist. Are we a nation of competing ideas, or a nation of forced conformity of thought? |
|
|
|
April 8, 2014, 11:59 PM
|
#9 |
|
Senior Member
Join Date: April 7, 2006
Posts: 10,988
|
Belgian Blue IS rust bluing. It's just a quicker method of rust bluing.
|
|
|
|
April 9, 2014, 06:49 AM
|
#10 |
|
Senior Member
Join Date: April 1, 2014
Posts: 120
|
The ejector parts were removed from the barrel and cleaned up as well as the long bolt that attaches the stock to the receiver.
 Then all were blued using Nu-Blu 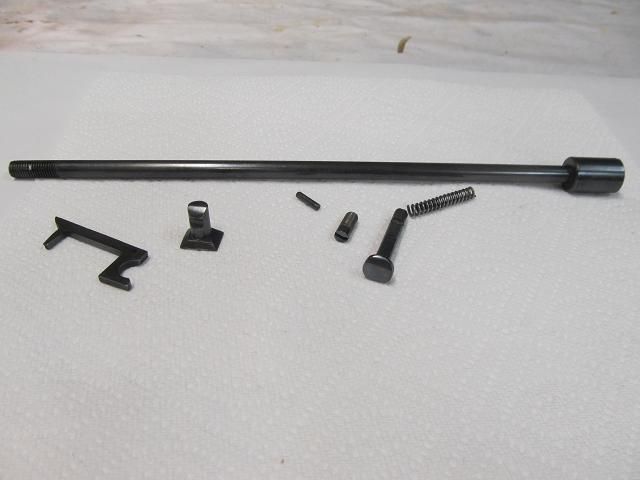 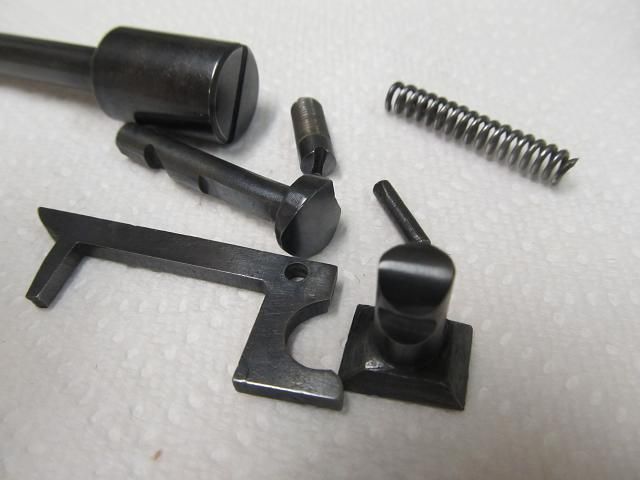 All the blued parts are then placed in Ziploc bags with a moisture displacing/rust inhibitor. In this case Strike hold but It could also have been G96 or Eezox where these parts will wait for the barrel to be completed. 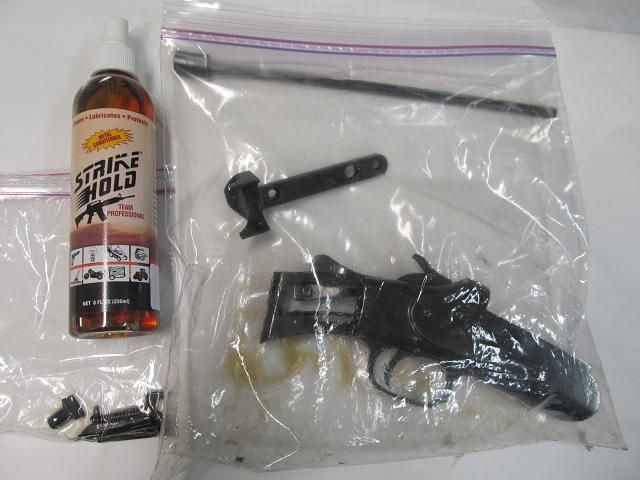 With the removable parts of the barrel removed, I made tapered wooden plugs so I could mount the barrel in my wood lathe so I could spin it to clean it up with 320, 400 and 600 grit as well as steel wool. 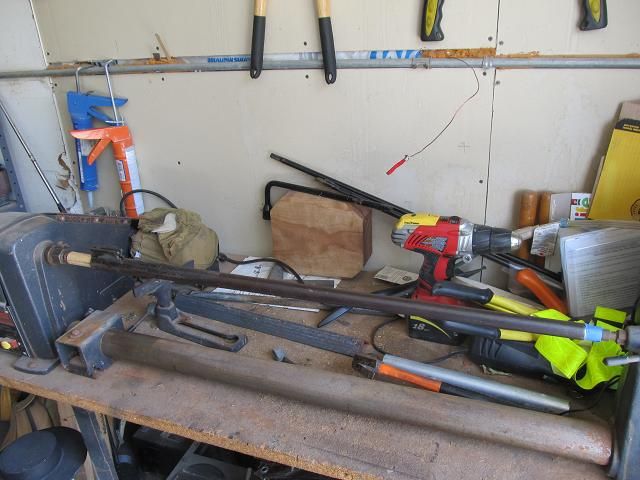 There was no need for naval jelly to remove the rust since I was shining up the barrel on the lathe. 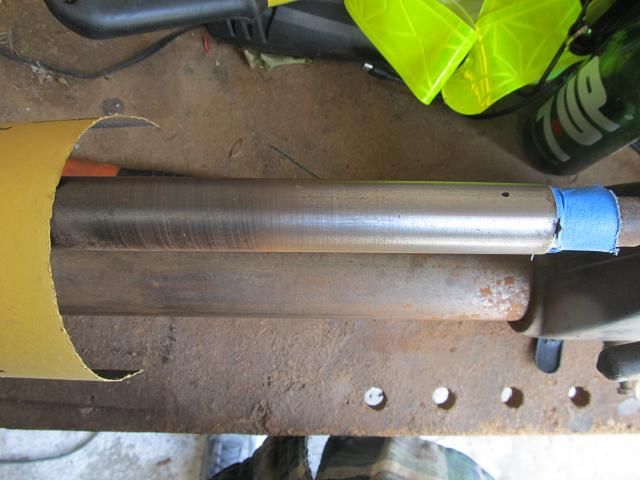
|
|
|
|
April 9, 2014, 06:50 AM
|
#11 |
|
Senior Member
Join Date: April 1, 2014
Posts: 120
|
The cleaned up barrel.
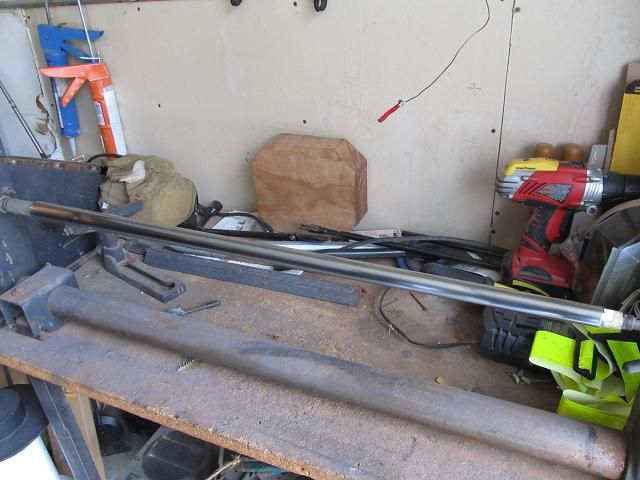  There is pitting in some areas that is just too deep to remove so it has to stay.  This barrel will be blued with Herters (now Arts) Belgian rust blue. For the definitive video on how to use Belgian rust blue see this link. He has done over 40,000 barrel blues so I trust what he says and does. This is the process I will try to repeat. http://www.artsgunshop.com/Video/Rus...ideoPlayer.htm Larry Potterfield does a much shorter video on how to use Arts Belgian blue http://www.youtube.com/watch?v=KrdESVrBA_Y My boiling water tank will be less rubust than Arts but essentially the same. it will be made from a section of rain gutter and a wire coat hanger to support the barrel so it doesn’t touch the sides of the tank. Here is a test run boiling some water to ensure it will work when I need it.  That’s Dolly the doe in the background, keeping an eye on things. She is a bedded doe decoy I made out of construction foam, wood and an ice cream bucket lid. I use her for bowhunting. 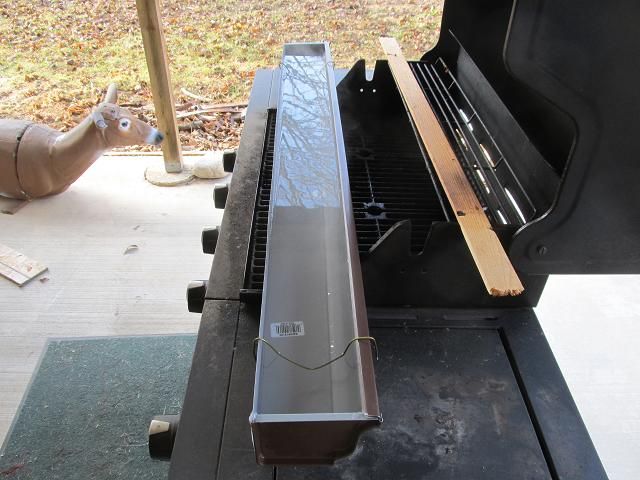 To be continued…….. |
|
|
|
April 9, 2014, 06:58 AM
|
#12 |
|
Staff
Join Date: November 2, 1998
Location: Colorado
Posts: 21,848
|
Making your tank from a rain gutter is clever.

__________________
Vigilantibus et non dormientibus jura subveniunt. Molon Labe! |
|
|
|
April 9, 2014, 06:43 PM
|
#13 |
|
Senior Member
Join Date: April 3, 2011
Location: to close to other houses
Posts: 1,176
|
looks great so far! I love those old singles. I had a 16ga EXCEL (made by Iver Johnson I believe) that looked VERY similar to your Stevens. I got it for $20, it had been in a house fire. It came back to life quite beautifully

__________________
One day, Men in tall hats will thump their chests and proclaim..."oh, what a great sea of mud we lived in"--The unalterable fate of billy creek  .... .... "Smoke.....it's what's for dinner" |
|
|
|
April 10, 2014, 05:37 AM
|
#14 |
|
Senior Member
Join Date: April 1, 2014
Posts: 120
|
Here a few pics from the Belgian bluing process.
Everything at the ready. 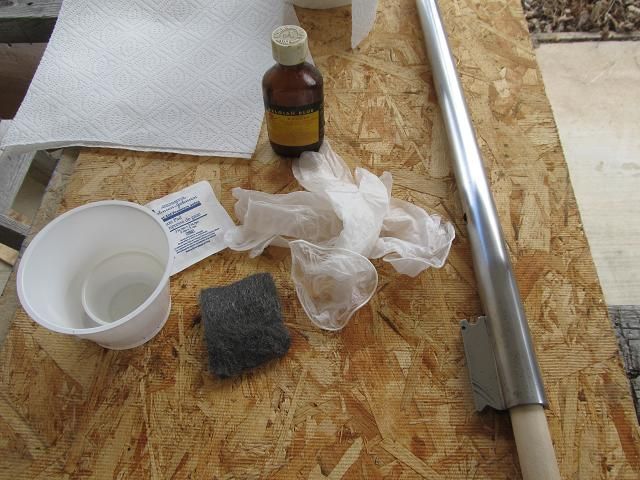 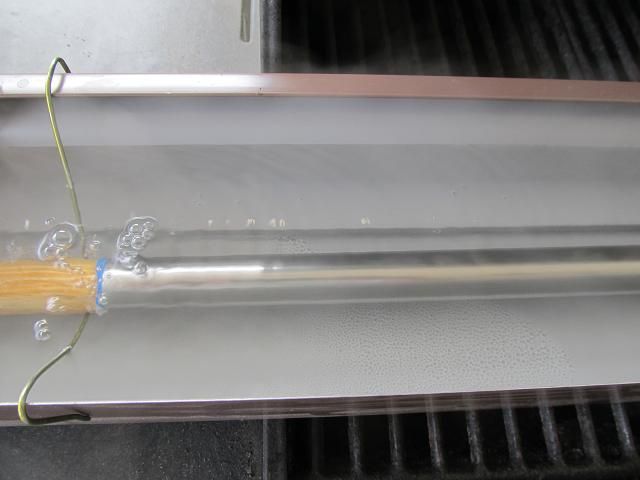 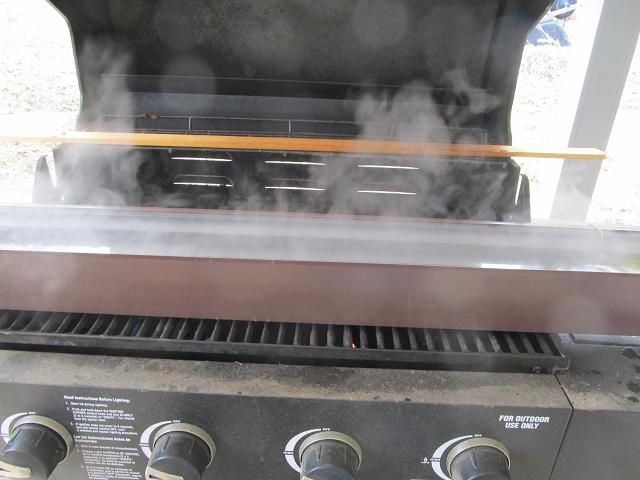 Rust scum floating on top. 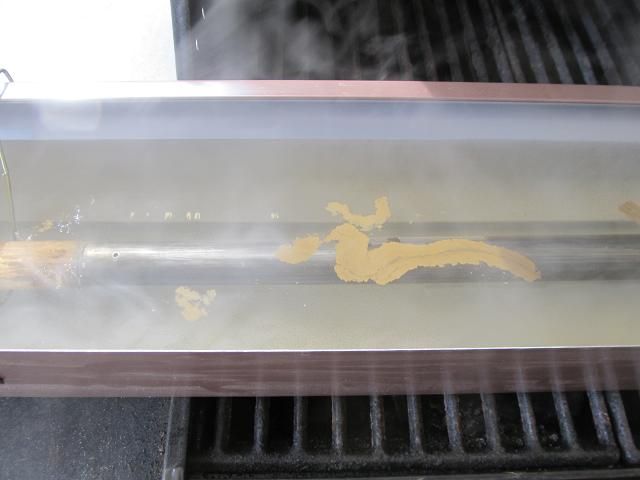 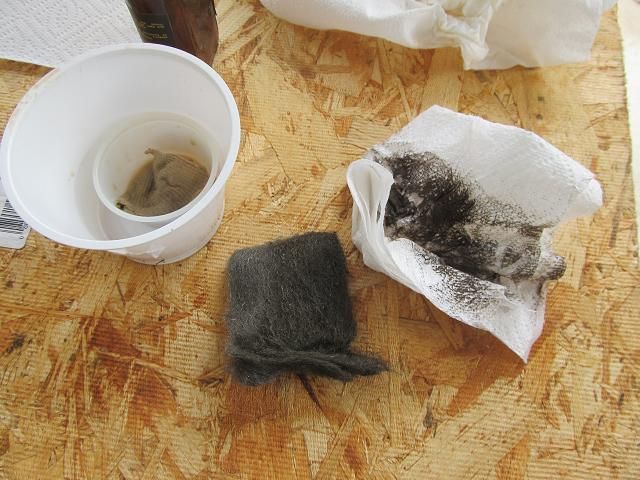 After the fifth dip and application. 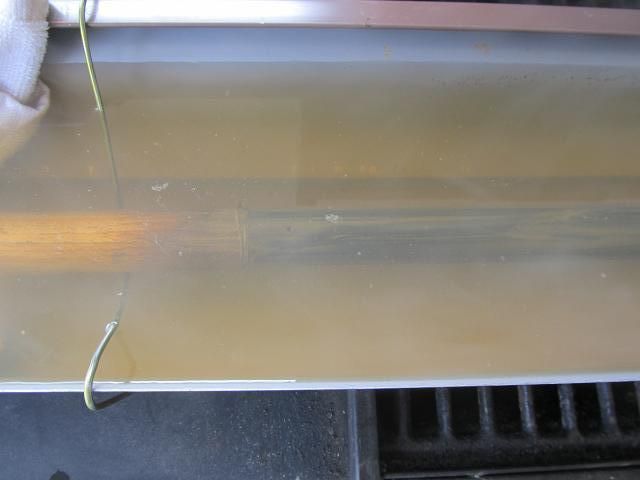
|
|
|
|
April 10, 2014, 05:45 AM
|
#15 |
|
Senior Member
Join Date: April 1, 2014
Posts: 120
|
The hot barrel evaporates the water and blue quickly showing the rusting
 Then the plugs are removed and sure enough no water crept into the barrel since the plugs are dry. 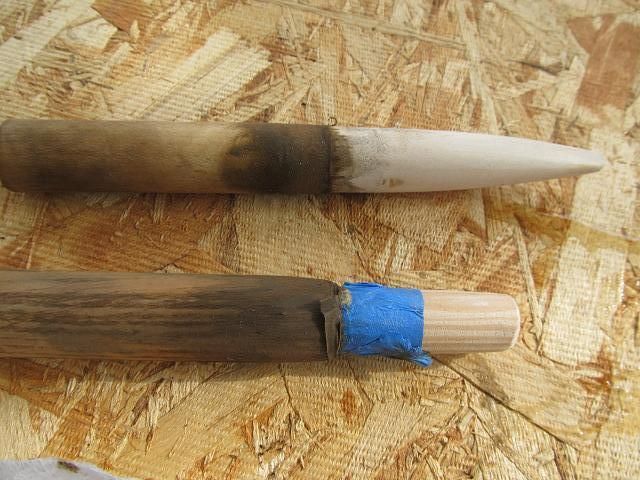 A new and longer plug is put in one end of the barrel has a handle so I can apply copious amounts of Strike hold, water displacing oil/rust inhibitor to the barrel. 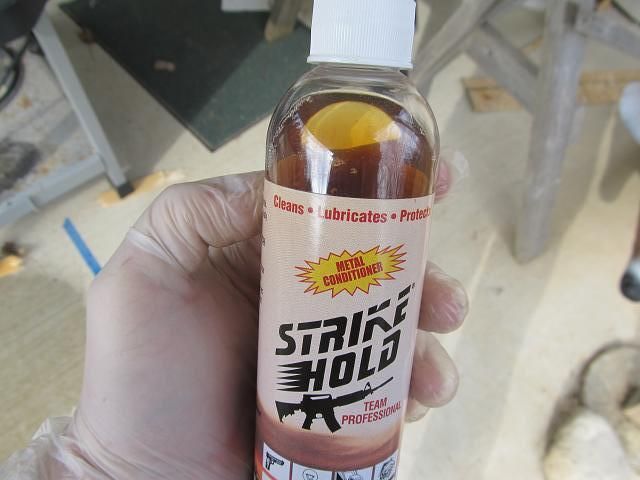 The oiled barrel. 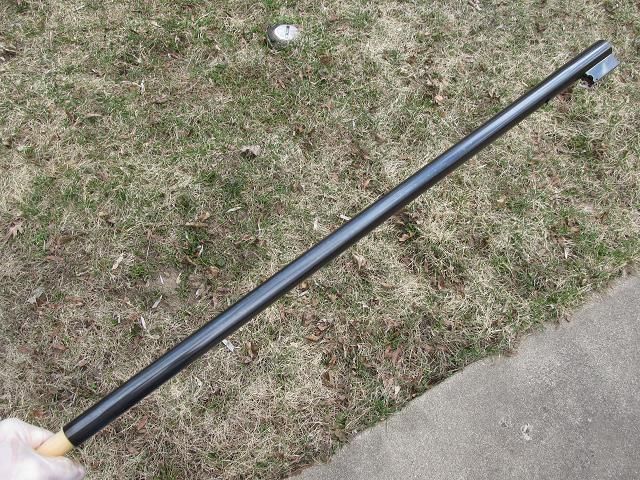 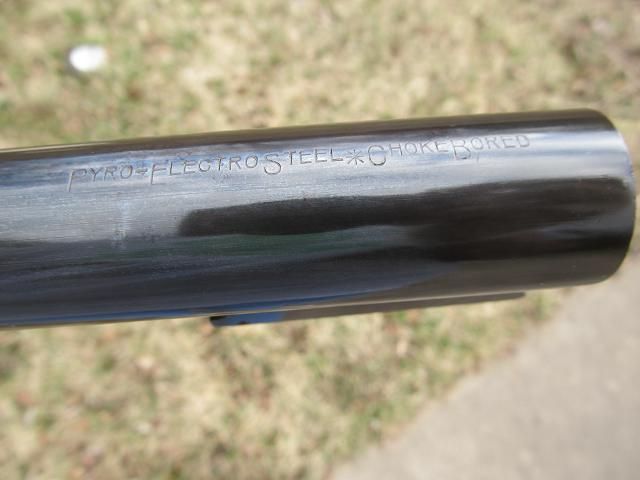 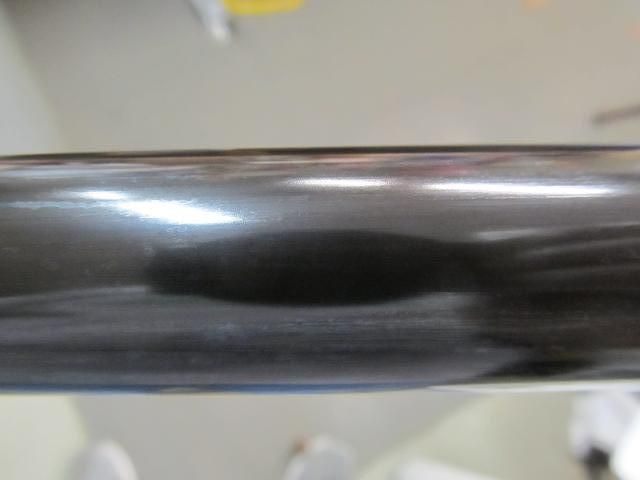 Here is an outside video of the newly blued and oiled barrel. https://www.youtube.com/watch?v=Rm4mIyyoKhY All that’s left to do is give it 24 hours in the strike hold, make a new stainless steel front bead and put the gun back together with the old stock (since that’s all I have at this point) To be continued……. |
|
|
|
April 11, 2014, 05:32 AM
|
#16 |
|
Senior Member
Join Date: April 1, 2014
Posts: 120
|
Ive gone as far as I can go with this gun until a stock is sourced (or made). Thanks for all the input in tracking down the make of the shotgun. It appears this is a Stevens Number 100 based on the hammer and finding an exact match on Numrich’s web site. Here’s where it stands right now.
I made a stainless front bead to replace the missing bead. 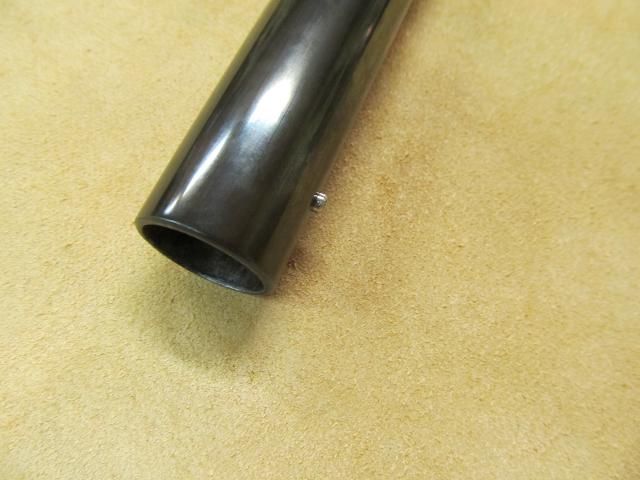 Here are some pictures of the resurrected gun with the old (broken) stock back on the gun for the time being. 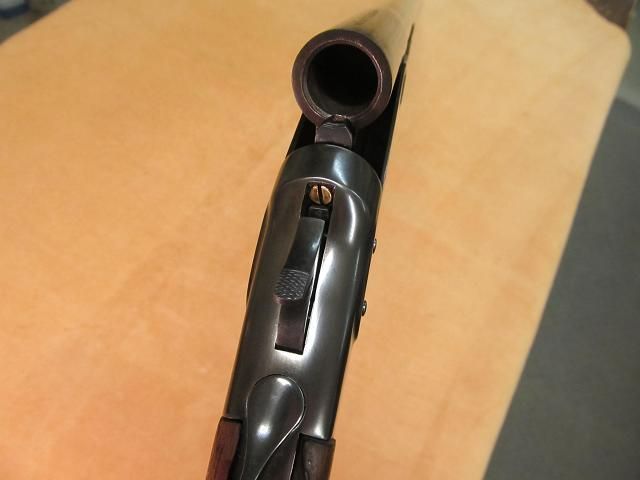 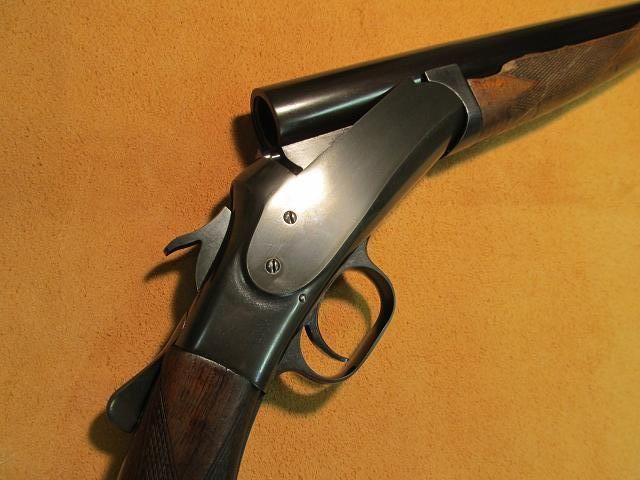 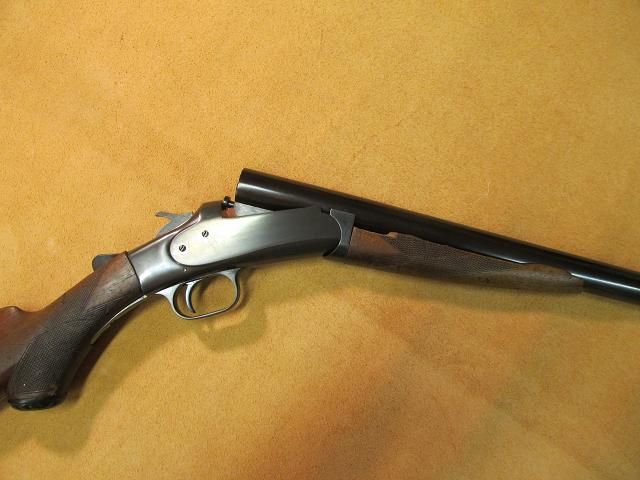 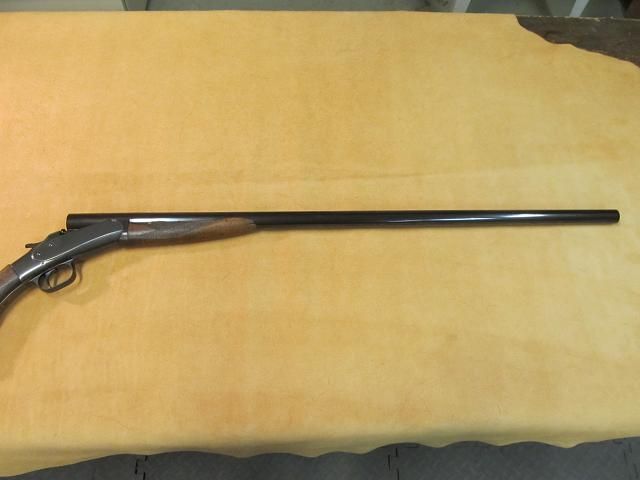 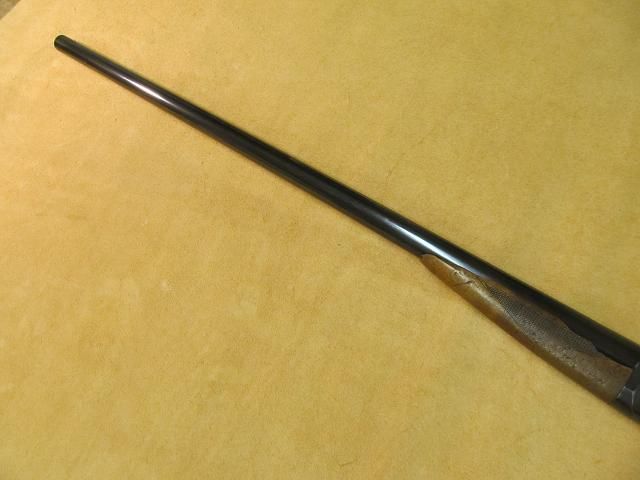
|
|
|
|
|
|


