
|
|
|||||||
| Forum Rules | Firearms Safety | Firearms Photos | Links | Library | Lost Password | Email Changes |
| Register | FAQ | Calendar | Today's Posts | Search |
 |
|
|
Thread Tools | Search this Thread |
 September 23, 2012, 08:28 PM
|
#1 |
|
Member
Join Date: May 1, 2011
Location: Ninilchik, Ak
Posts: 38
|
Bedding A REM 700 ADL LA Boyds Stock
I decided to make a thread on this bedding project. Now i'm not a professional, but I've bedded a few rifles and thought this might help out some guys looking to bed their first gun.
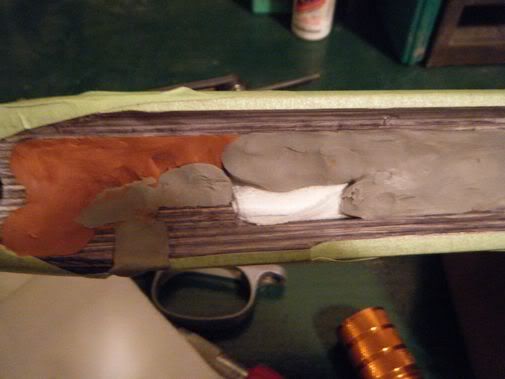
This is a REM 700 ADL, in 7mm Mag. It had a flimsy synthetic factory stock, and my buddy who owns the gun bought a Boyd's laminate Prairie Hunter for it. I'll say that I was really impressed with the fit and feel of the boyds, for a stock under 100 dollars its pretty hard to beat. 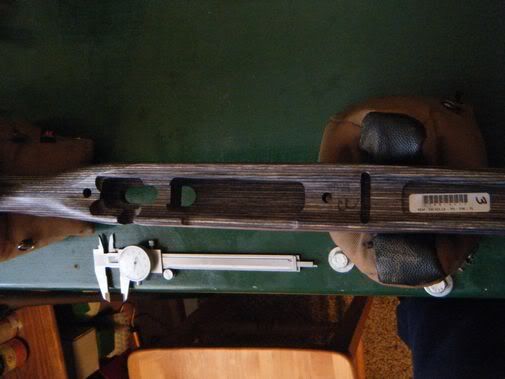 I bedded it with DEVCON Plastic Steel. I wanted to pillar it as well, so I used the same method I did on my 700. I bought 1/4 steel bolt spacers from the hardware store. Before I did any modifications to the stock I took measurements, the rear measurement went from the top of the trigger gaurd to the bottom of the tang, it measured at 1.295". The front measured from the top of the plastic spacer to the bottom of action, and it measure .685". I cut and ground the steel spacers to this length. I then drilled out the action holes to allow about 1/8" of room all the way around the pillar. Some people say to use a drill press and make sure you get these holes square, but as far I can tell as long as you set the pillars square it doesn't matter as long as these holes are "close" to square. So I just drill them by hand. I then take 5 minute DECVCON epoxy, I use just a small amount on the bottom of the pillar set them in the holes, put the aciton/barrel back on and screw it down. Let the epoxy set and pull it back apart. Now i'm ready to start floating the barrel. I put masking tape about 1/16 inch away from the sides of the barrel channel. This serves 2 purposes, one to give me a guide of how much material i'm removing while sanding, and also if my dremel gets away from me it runs across the top of the tape and not the pretty new stock, I learned this the hard way on my first bed job. I like to remove just enough material to allow a business card to slide smoothly the length of the barrel. Another nice thing about masking tape along the sides is when you check the barrel, you can easily mark any “tight” spots as you slide the card along the barrel, so when you pull the barrel off you remember where you need to keep sanding. I use my dremel for all this, some guys use a wood down and sand paper which works well too. 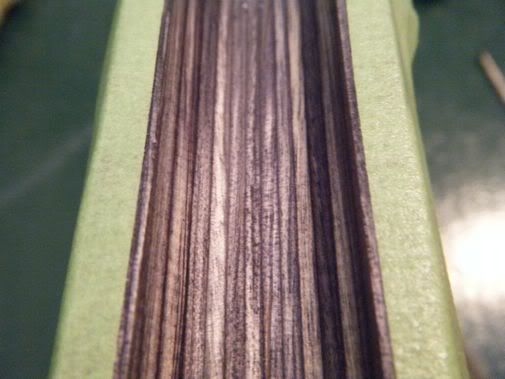 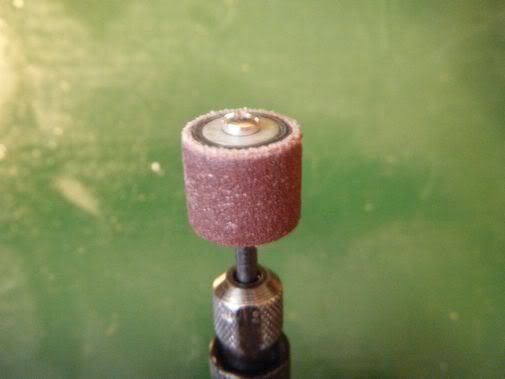 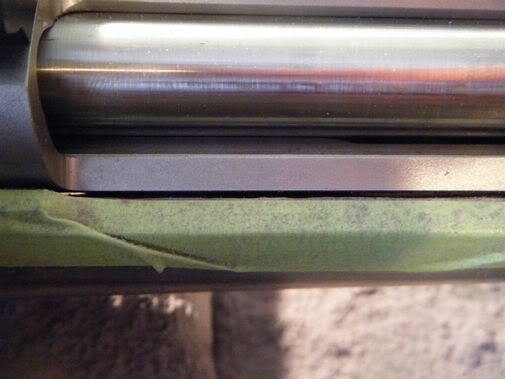 Once the barrel is floated I started on the action. I do a full bedding of everywhere the action sits on the stock. I made sure to mask along the sides here as well, and started sanding, I remove about 1/8” of material all around. Next, the recoil lug, this is probably where I’ve seen the most different methods used. I have done a few all this way and they’ve worked great. I remove about ¼ inch of material front and back of the recoil lug, and 1/8 inch along the sides. I have to use a few different dremel bits to do this, as my sanding wheel won’t fit in at first. 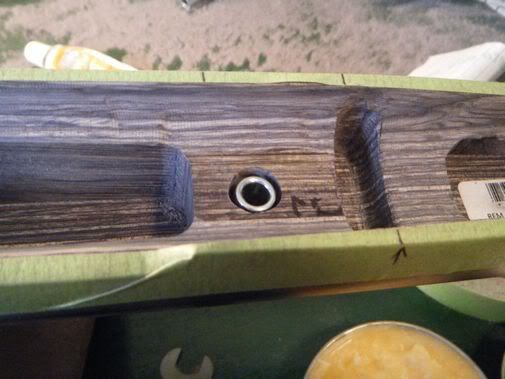 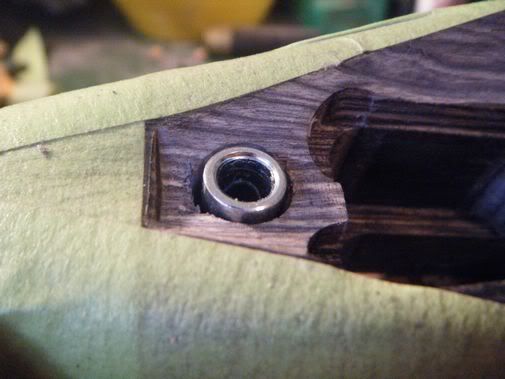 Once I have all this done I pull all my masking and remask. Barrel is floated, pillars are set. Now its time to get ready to bed. First, I use modeling clay to fill in the holes for the trigger and the magazine. I usually stuff gauze down first to hold up the clay. I make sure and take my time here to allow no holes or gaps. Also built with modeling clay is the dam in front of the recoil lug to stop the bedding. I go about 1” in front of the recoil lug to just give my barrel a little bit of support. I stuff the clay in the stock here, then bolt down my action/barrel again, pull it back apart, and trim the dam straight on the action side to make a pretty edge of the bed job. Last edited by tmas; September 23, 2012 at 08:39 PM. |

|
|
September 23, 2012, 08:39 PM
|
#2 |
|
Member
Join Date: May 1, 2011
Location: Ninilchik, Ak
Posts: 38
|
Now on to the action, this is the single MOST important part of bedding. I can’t imagine the pain of not being able to pull the stock/action apart when you’re done. MAKE SURE all the holes are filled with modeling clay on the action. If you don’t do this you can mechanically lock the two together with epoxy. I pull the trigger assembly and magazine off, and then fill ALL holes with modeling clay. The only holes I don’t fill is the Action screws.
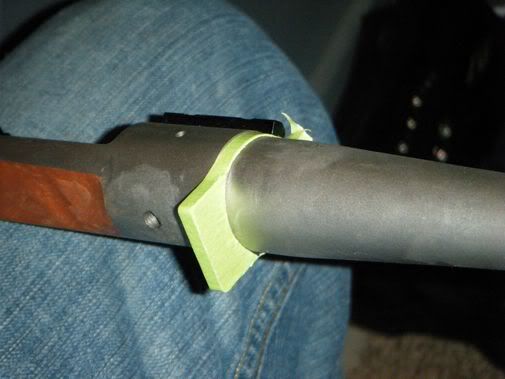  To make it easier to put your action in and out when you’re done, I put two strips of green masking tape on the sides of the recoil lug, and one piece on the front. Some guys skip this step, but I like just a tiny tolereance here to allow your gun to come apart easier. Now for the Release agent. I’ve heard of a plethora of different release agents. Shoe polish, commercial agents, wd40, wax. Basically, anything that will make a greasy, oily, or waxy barrier against your action will work. Best thing to do is that whatever you decide to use, test if first on a piece of metal you have laying around, put your release agent on and then some epoxy, let your epoxy harden and it should just fall right off the surface. 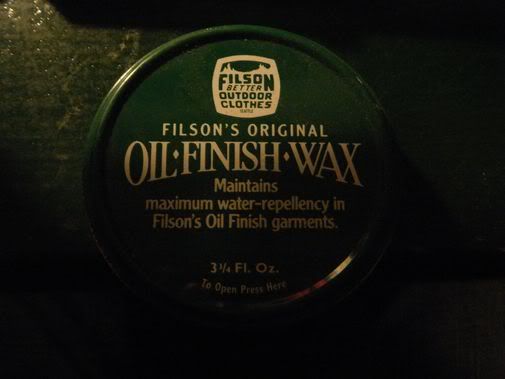 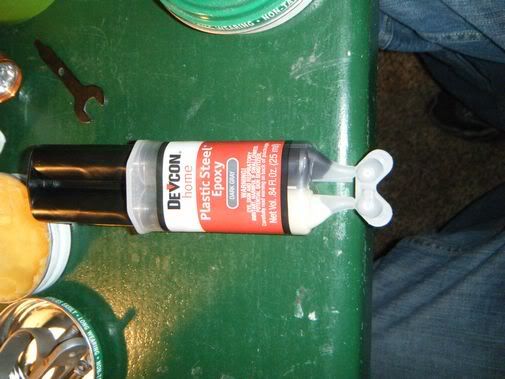 I use Filson clothing wax. It smells like a Pine tree and is pleasant to use J. I coat the entire acion inside and out with this, let it set for a bit, and then coat it again. If you’re as nervous as I was my first time, you’ll do this step 5 times to make sure you don’t stick anywhere. Coat EVERYTHING, modeling clay, recoil lug and tape. You don’t want to rush this step. 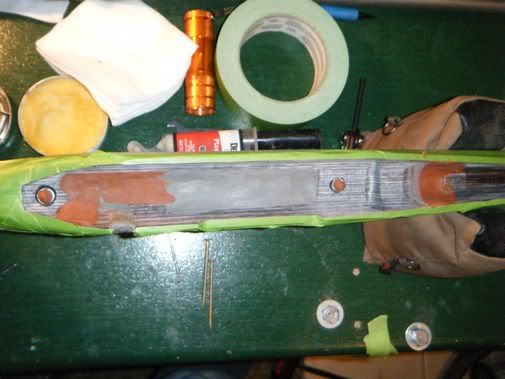 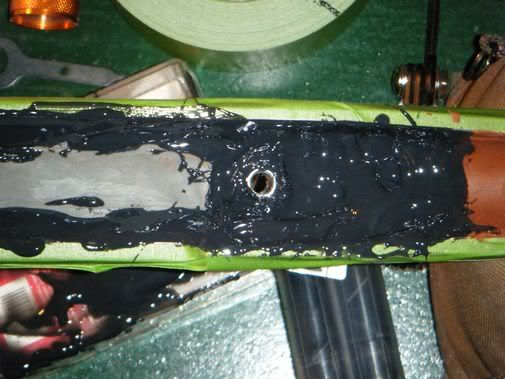
|
|
|
|
September 23, 2012, 08:42 PM
|
#3 |
|
Member
Join Date: May 1, 2011
Location: Ninilchik, Ak
Posts: 38
|
I now take long bolts that are ¼ 28 size. The bolts I have are smooth, and I cut the threaded part down to ¼” so the threads will go all the way into the action. I also cut the head off of these and just screw them in by hand. I use these so when I push the action down into the epoxy, it doesn’t run down into the pillars or into the threads. Make sure to coat these screws, action screws, and trigger housing with release agent as well.
Now for the messy part. I mask the whole stock, and make sure you either don’t care if you get epoxy on your work bench or mask it off well. BEFORE you start to bed make sure you have rubbing alcohol or alcohol swabs ready. I use latex gloves as well. I dry fit the gun a couple more times to look for anything I’ve missed, any modeling clay or tape, spots, and to check the barrel for free-floating one last time. Mix your DEVCON. I like to buy the stuff in the small 2 part gun, it comes I think in a 25ml kit, at the local hardware store this costs $4.99 and I buy two for a gun. One nice thing is you have a 60 minute working time with devcon so don’t worry about rushing. You can take your time and focus. Make certain you mix it REALLY well, I spend a good 5 minutes mixing one tube. I mix one tube at a time. I use a popsicle stick to apply, I start at the front and work back. Make sure you don’t put any in your pillars, you can stick some clay in them at first to prevent this. Give yourself PLENTY of material, it will ooze out so its better to have way more than you need in there to prevent holes. When you run out you have plenty of time to mix more, I usually only need ½ of the second tube. 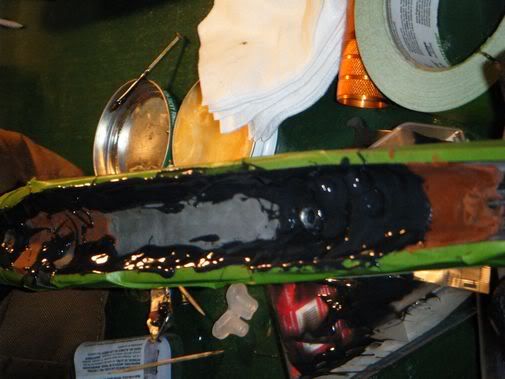 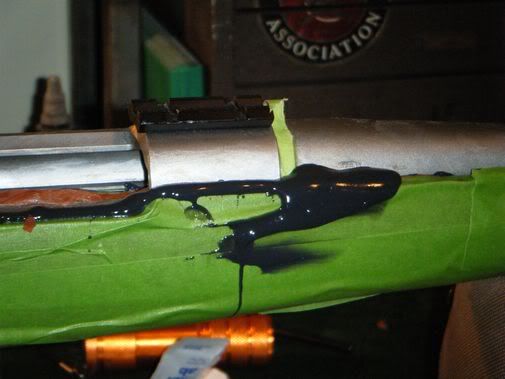 Once all the epoxy is in I use toothpicks to work it down around the pillars really good, and into the Recoil lug. When I was confident I had enough epoxy in everywhere I took the barreled action WITH the long screws already in, and set it very slowly down onto the stock. Immediately the epoxy started oozing everywhere. Once you have it all the way down sitting on the pillars, you can unscrew the long screws and put in your action screws. I DO NOT torque them down, I just put them on finger tight, just enough to make sure the action doesn’t float up in the epoxy and get a void above the pillars. Now I start cleaning up. The epoxy was oozing everywhere, so I was glad I masked the entire gun. I set my alcohol swabs out about ½ hour before hand so they aren’t very wet, if you get too much alcohol on it I’ve heard that it can cause the top of the epoxy not to set. I get all the epoxy off the barrel and action, and then start pulling the tape and making sure I don’t have any epoxy under the tape anywhere. LOOK inside the action and make certain you didn’t get any oozing into there. I’ve heard of guys having epoxy ooze up through the action bolt holes and hardening in their chamber. 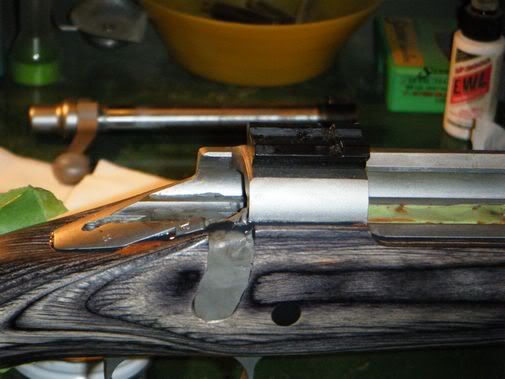 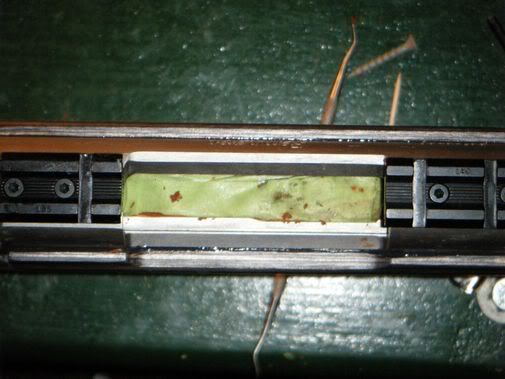 Once you are all cleaned up comes the anxiety and waiting game. I check back every hour to make sure I can still turn the action screws, I don’t loosen them much just make sure they’ll move. After about 2 hours on this gun I notices the epoxy along both sides of the recoil lug had voids, damn. I thought I had enough epoxy in there for sure with how much I had ooze out, but I must have had some big air bubble down around the lug. This is going to be more of a cosmetic blemish and shouldn’t affect the functionality. It’s now been 22 hours since I bedded it. The package says full cure in 16-24 hours, but I’m going to wait until tomorrow morning at about the 36 hour mark before I pull It, just to be sure. The first time I did a gun I couldn’t sleep for two nights worrying that I’d glued my action and stock together, but I’m a little more confident now. I'll post again tomorrow after I pull it as let you know how it turned out! I plan on shooting this weekend and we'll see how the new setup shoots. |
|
|
|
November 5, 2012, 06:10 PM
|
#4 |
|
Senior Member
Join Date: October 6, 2009
Posts: 332
|
Wow, this is the best diy write up i have ever came across for bedding a gun. I will definately keep this thread handy for myself as well as giving to others when questions arise. Thanks.
Btw, i just restocked my Rem. SPS 22-250 with a H-S stock and want to bed the recoil lug area. The stock has a full length aluminum bedding block so i have decided to not do the whole action. I dont think there is much else to say about the lug section because you covered it pretty well but do you have any additional tips about bedding that part of the gun? I also have not decided on which bedding product to use but at Midway, i see Devcon 10210 "plastic steel" - is this the same that you used? I heard the "steel" products are a little more durable than the glass bedding even though glass bedding seems to be more popular. |
|
|
|
|
|


